Du hast einen Hetzner VPS / Dedizierten Server und möchtest über einen GRE Tunnel weitere IPs hinzufügen um von unseren günstigen IP-Preisen und DDoS Schutz zu profitieren? In dieser Anleitung erkläre ich Dir von A bis Z wie Du dabei vorgehen musst.
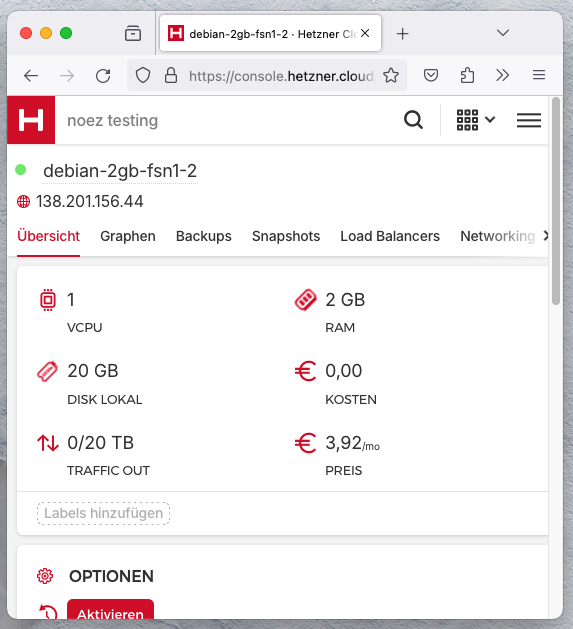
Zunächst einmal solltest Du einen Server haben. In diesem Fall nehme ich als Beispiel einen VPS von Hetzner mit der IPv4 138.201.156.44
Nun gehe ich auf Miete GRE Tunnel IPs für nur 0,50 Euro je IPv4 Adresse, sofort verfügbar und bestelle mir einen GRE Tunnel. In diesem Fall mit 3 IP-Adressen.
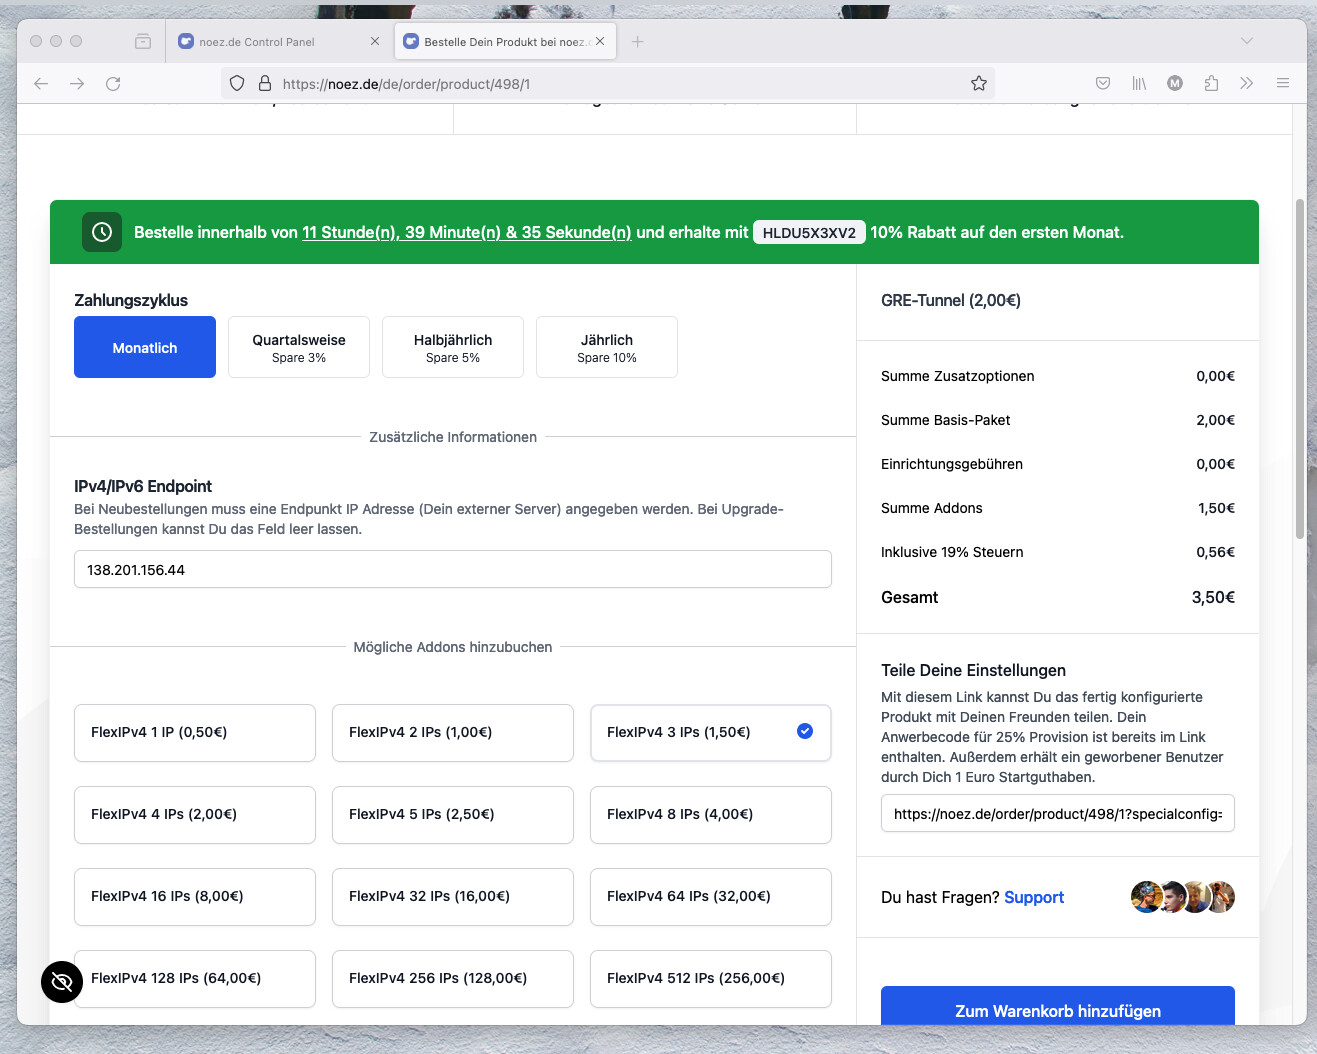
Wichtig ist, dass ich in diesem Fall meine Hetzner IPv4 in das Feld „IPv4/IPv6 Endpoint“ eintrage. Danach füge ich den GRE Tunnel zum Warenkorb hinzu und gehe zum Bezahlvorgang.
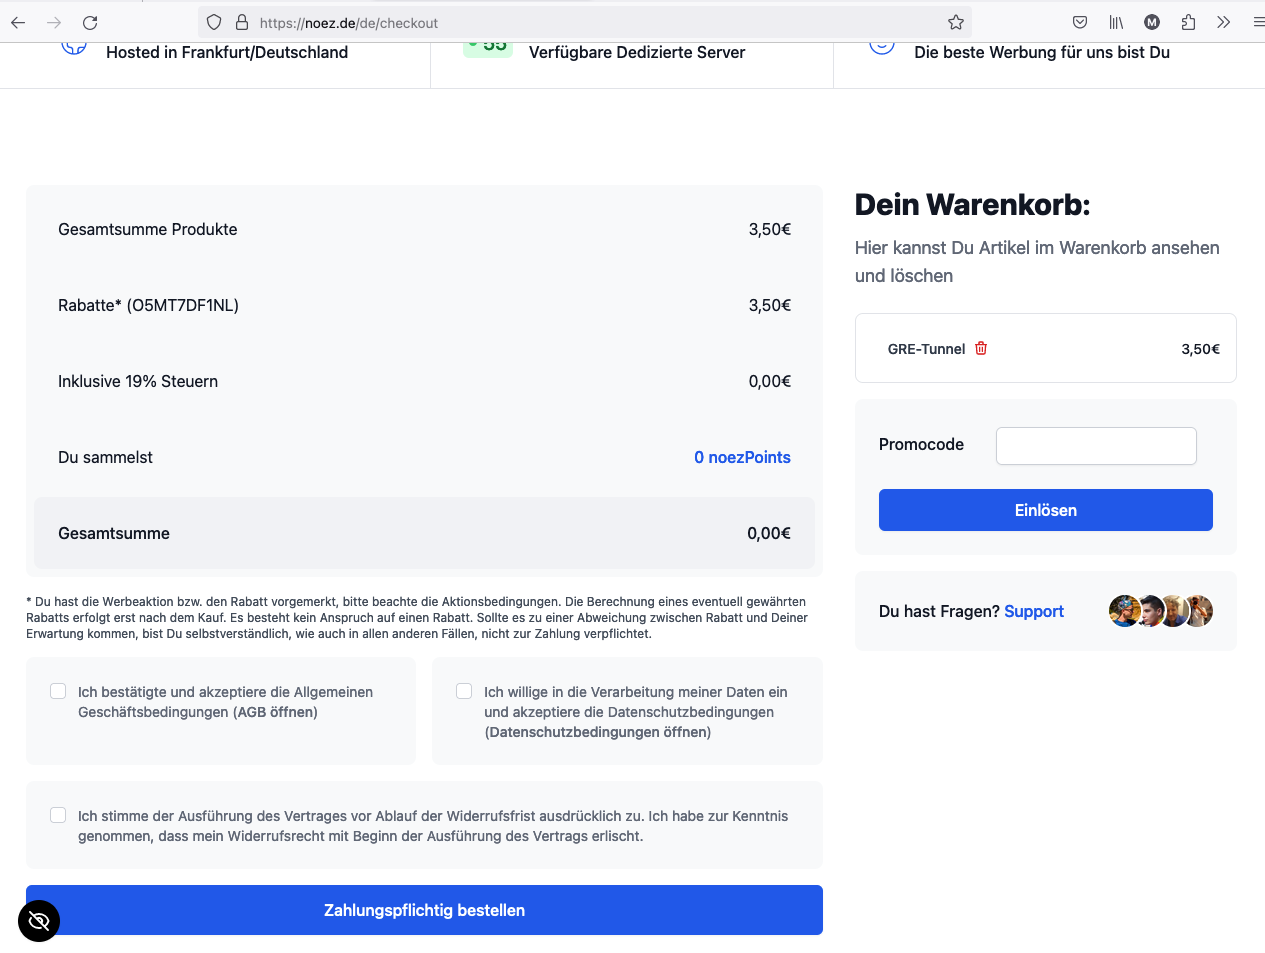
Wer den ersten Monat erstmal kostenfrei testen möchte kann übrigens aktuell, so wie im Beispiel, den Code O5MT7DF1NL eingeben. Damit ist der GRE Tunnel mit 3 IPs im ersten Monat kostenfrei. Ideal zum Testen.
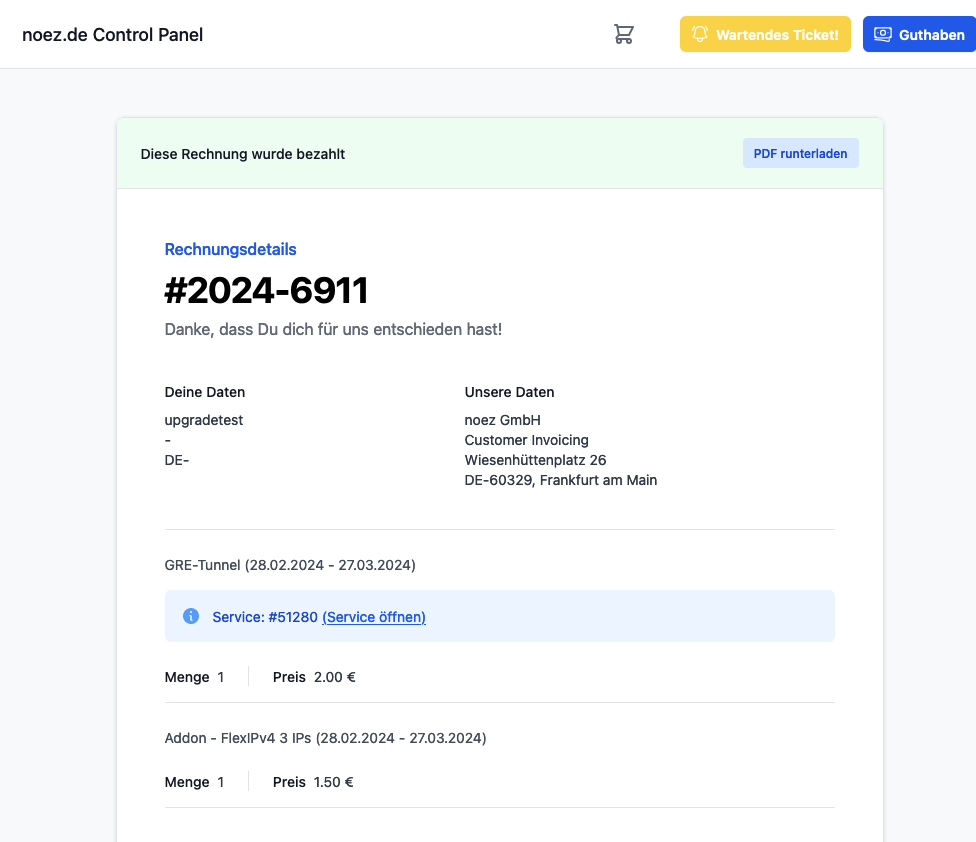
In der Rechnung klickst Du nun direkt auf „Service öffnen“ um den GRE Tunnel zu öffnen.
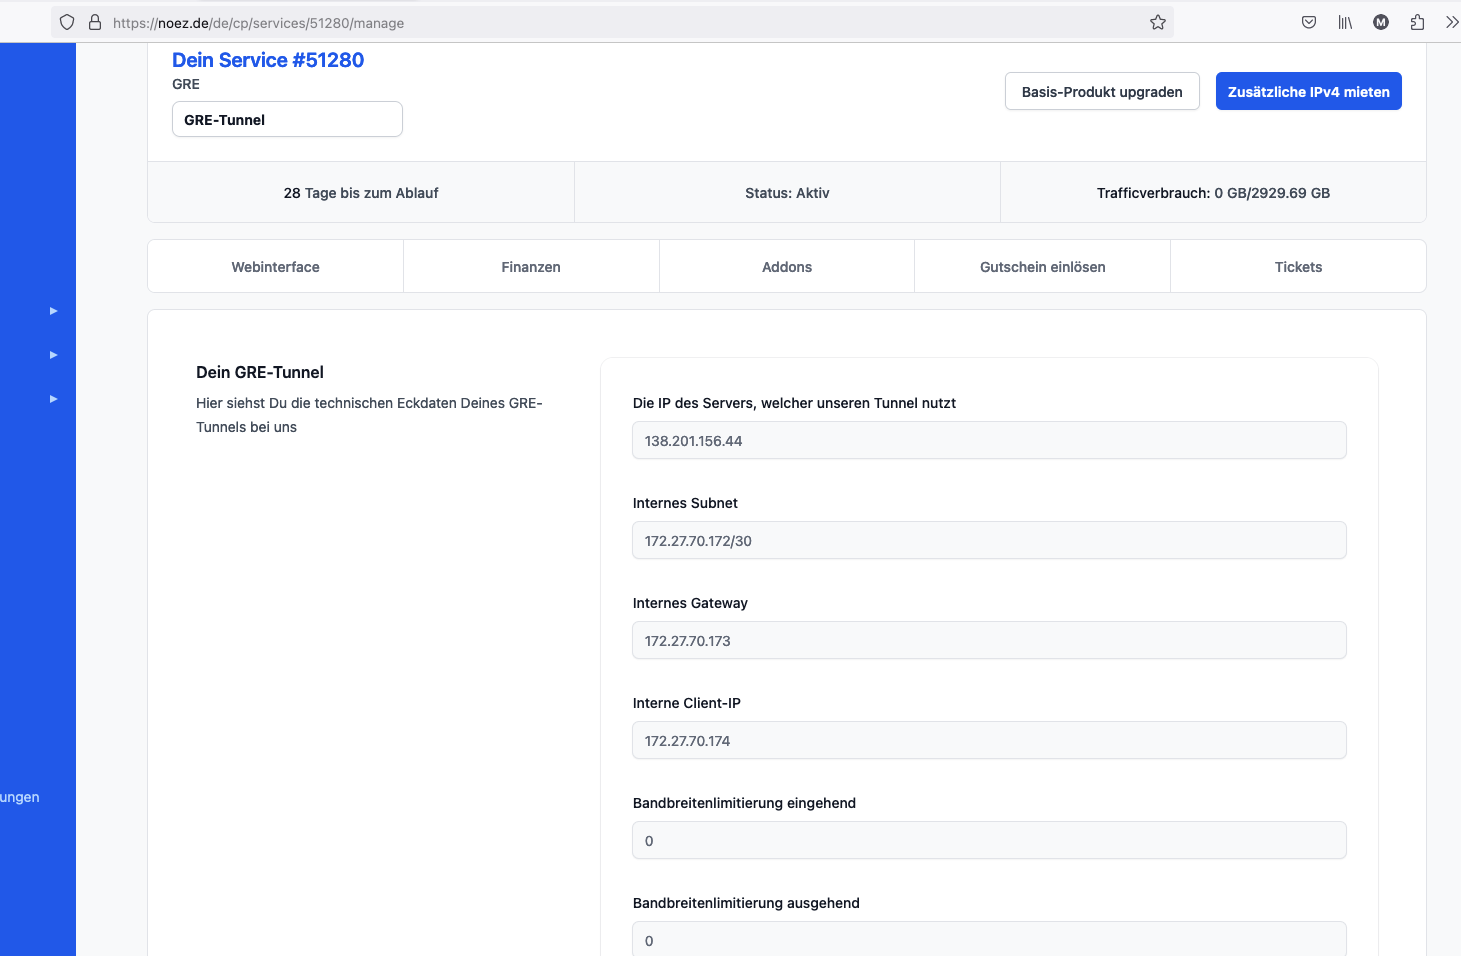
Auf der Verwaltungsseite findest Du nun direkt alle wesentlichen Informationen zu Deinem GRE-Tunnel sowie die Basis-Befehle zum Einrichten:
Weiter unten findest Du auch die Einrichtungsdaten sowie ein automatisches Install-Script für Standard Debian Installationen:
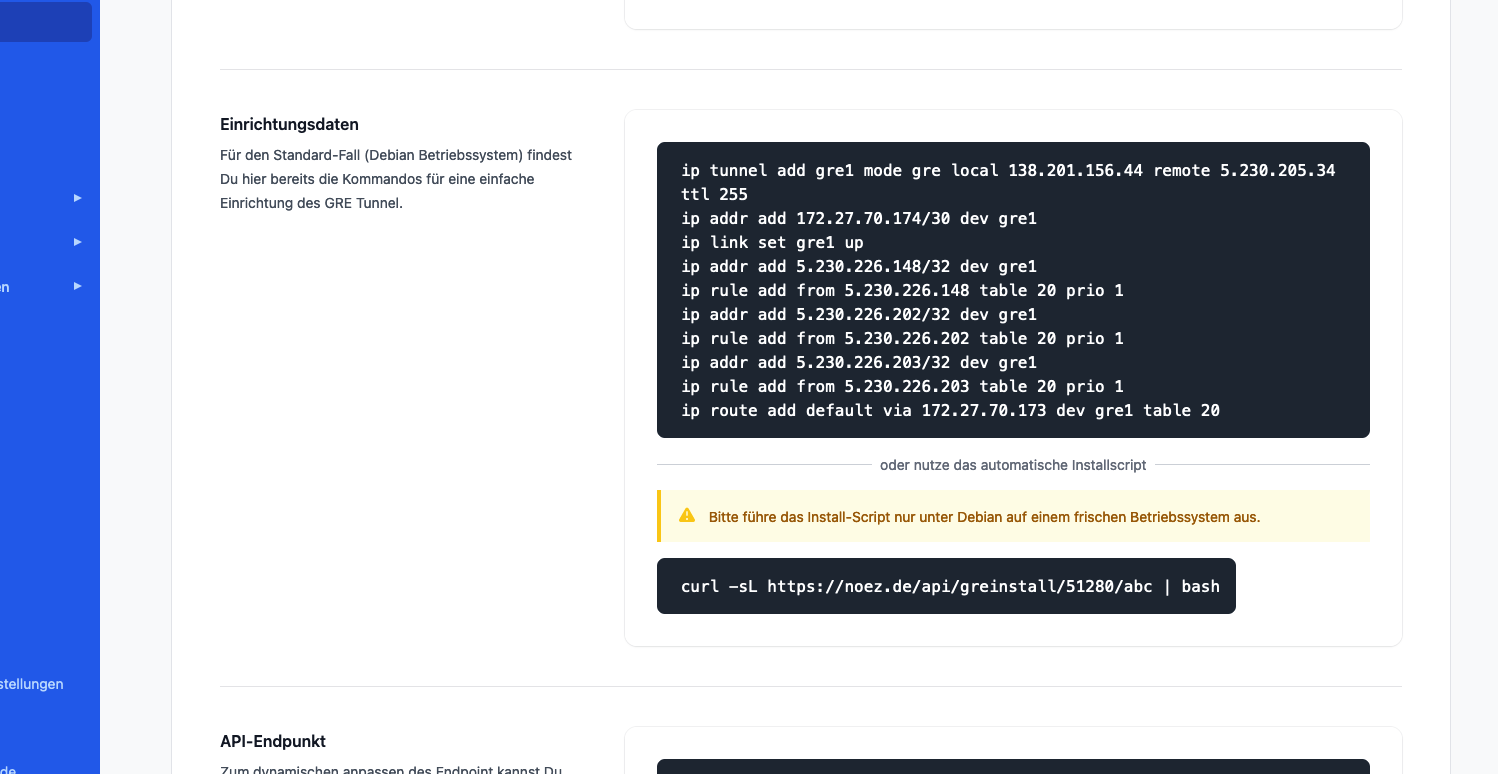
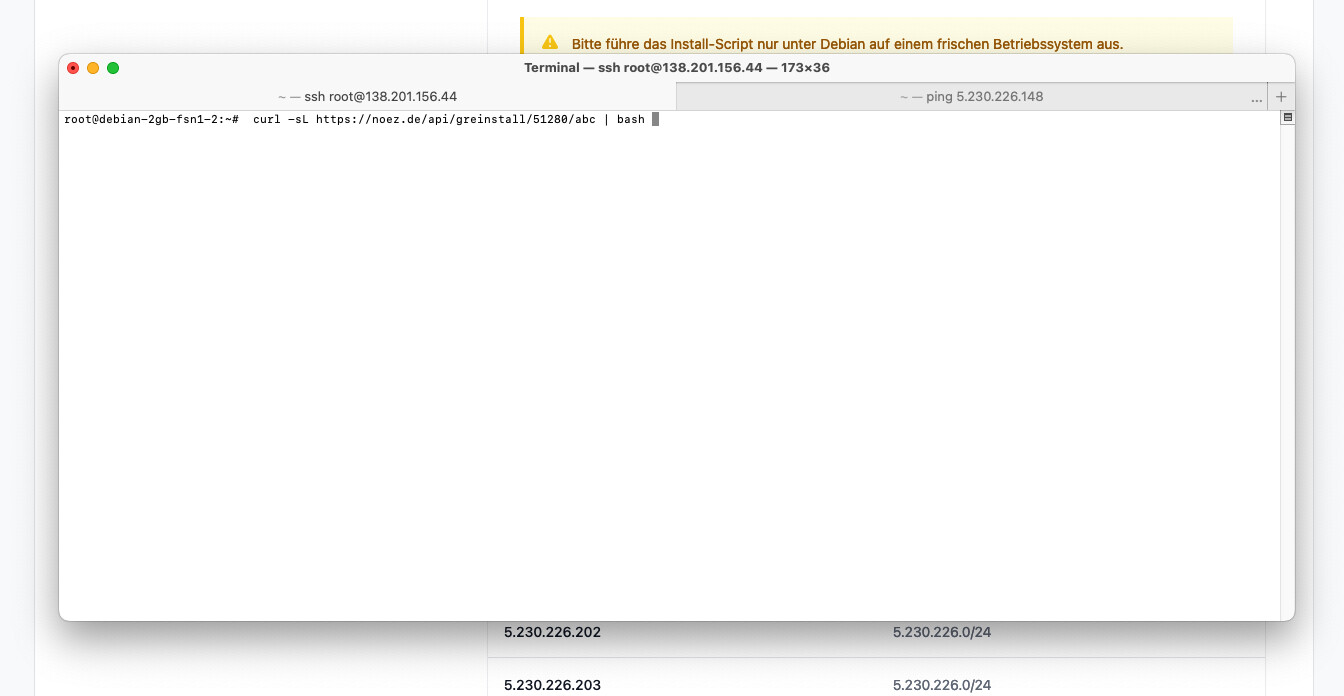
Führe diese Befehle nun auf Deinem Hetzner VPS / Dedi aus. In diesem Beispiel nutze ich das einfache Install-Script, da es nur ein Befehl ist, den ich eingeben muss.
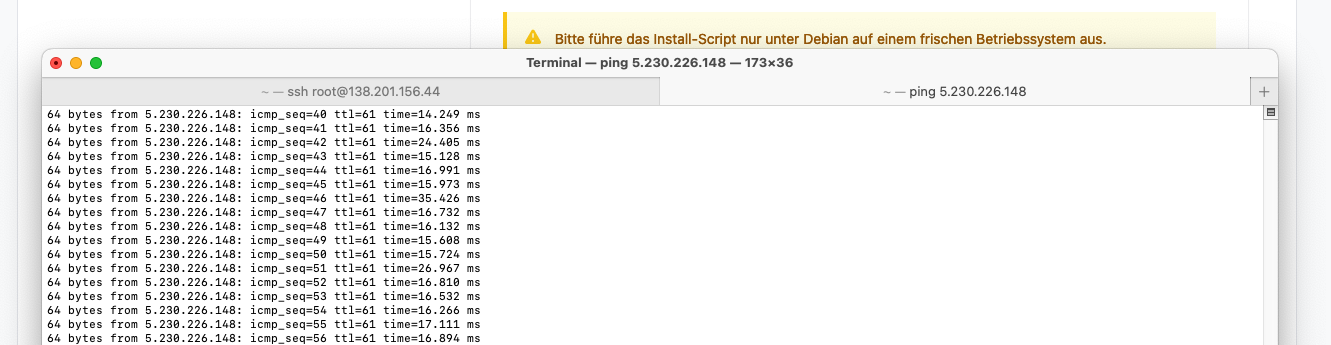
Unmittelbar nach dem Ausführen wirst Du feststellen, dass Deine noez.de GRE IP pingbar ist:
Als „Gegenprobe“ kannst Du nun probieren, dich per SSH mit der noez.de IP auf Deinen Hetzner Server zu verbinden:
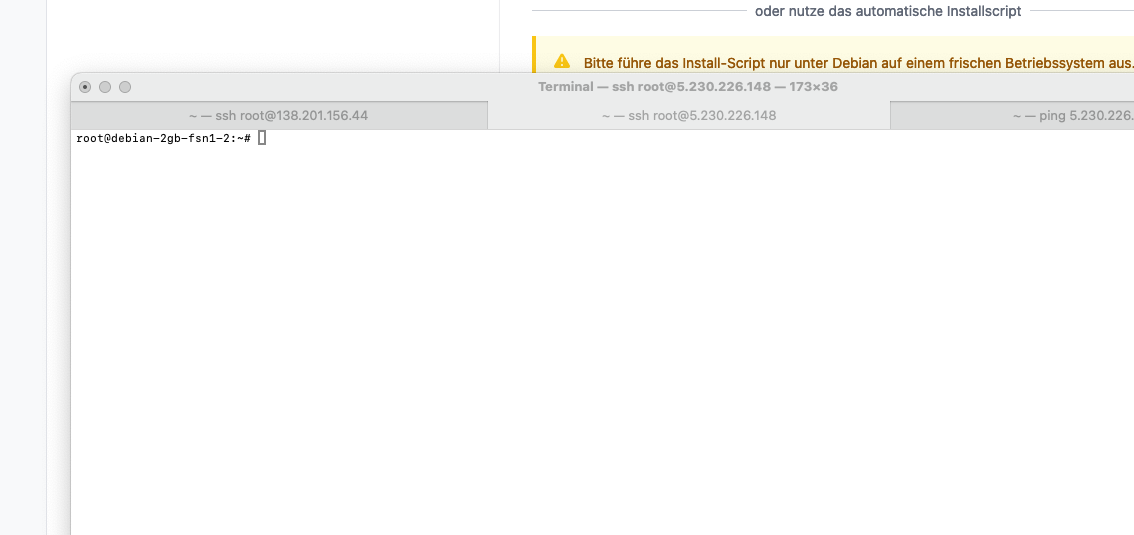
Wenn alle vorherigen Schritte korrekt befolgt wurden, solltest Du Dich nun mit Deiner noez.de IP auf Deinen Hetzner VPS verbinden können.
Wenn Du Deine Endpunkt-IP ändern möchtest, kannst Du das jederzeit via API durchführen.
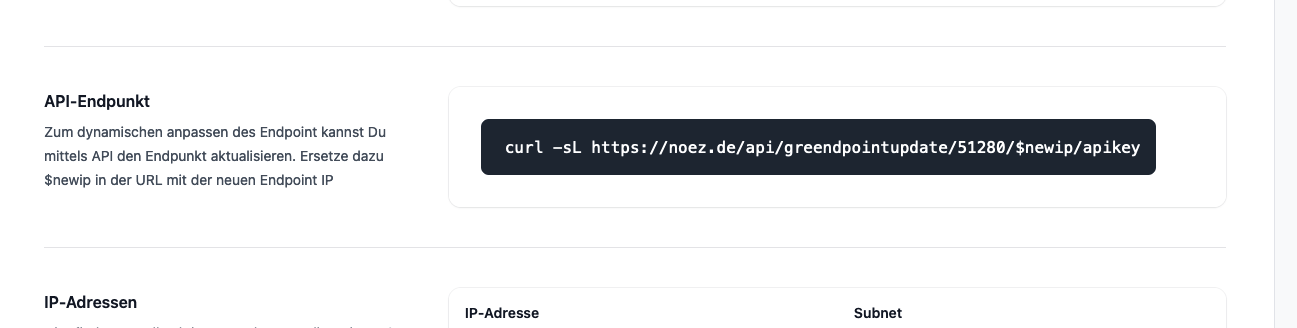
Ersetze dabei $newip mit der neuen Endpoint IP-Adresse. Der API-Key ist bereits vorausgefüllt. $newip kann sowohl eine IPv4 als auch eine IPv6 Adresse sein.
English: You have a Hetzner VPS / Dedicated Server and want to add additional IPs via a GRE tunnel to benefit from our affordable IP prices and DDoS protection? In this guide, I’ll explain to you from A to Z how to proceed.
First of all, you should have a server. In this case, I’ll take an example of a VPS from Hetzner with the IPv4 138.201.156.44
Now, I go to Miete GRE Tunnel IPs für nur 0,50 Euro je IPv4 Adresse, sofort verfügbar and order a GRE tunnel. In this case, with 3 IP addresses.
It’s important that in this case, I enter my Hetzner IPv4 into the „IPv4/IPv6 Endpoint“ field. Then I add the GRE tunnel to the shopping cart and proceed to checkout.
Whoever wants to test the first month for free can currently, as in the example, enter the code O5MT7DF1NL. This makes the GRE tunnel with 3 IPs free for the first month. Ideal for testing.
In the invoice, you now click directly on „Open service“ to open the GRE tunnel.
On the management page, you will now find directly all essential information about your GRE tunnel as well as the basic commands for setup:
Further down, you’ll also find the setup data as well as an automatic install script for standard Debian installations:
Execute these commands now on your Hetzner VPS / Dedi. In this example, I’m using the simple install script because it’s only one command I need to enter.
Immediately after executing, you’ll notice that your noez.de GRE IP is pingable:
As a „counter-test,“ you can now try to connect via SSH to your Hetzner server using the noez.de IP:
If all previous steps were followed correctly, you should now be able to connect to your Hetzner VPS using your noez.de IP.
If you want to change your endpoint IP, you can do that anytime via API.
Replace $newip with the new endpoint IP address. The API key is already pre-filled. $newip can be either an IPv4 or an IPv6 address.